Golden Gate Park rewards the camera that slows down. Its best-known landmarks are surrounded by foliage, water, paths and open lawns, so a recognizable subject is only half the picture. The rest is choosing a frame that tells viewers where they are and still works when it is cropped to a postcard or phone screen.
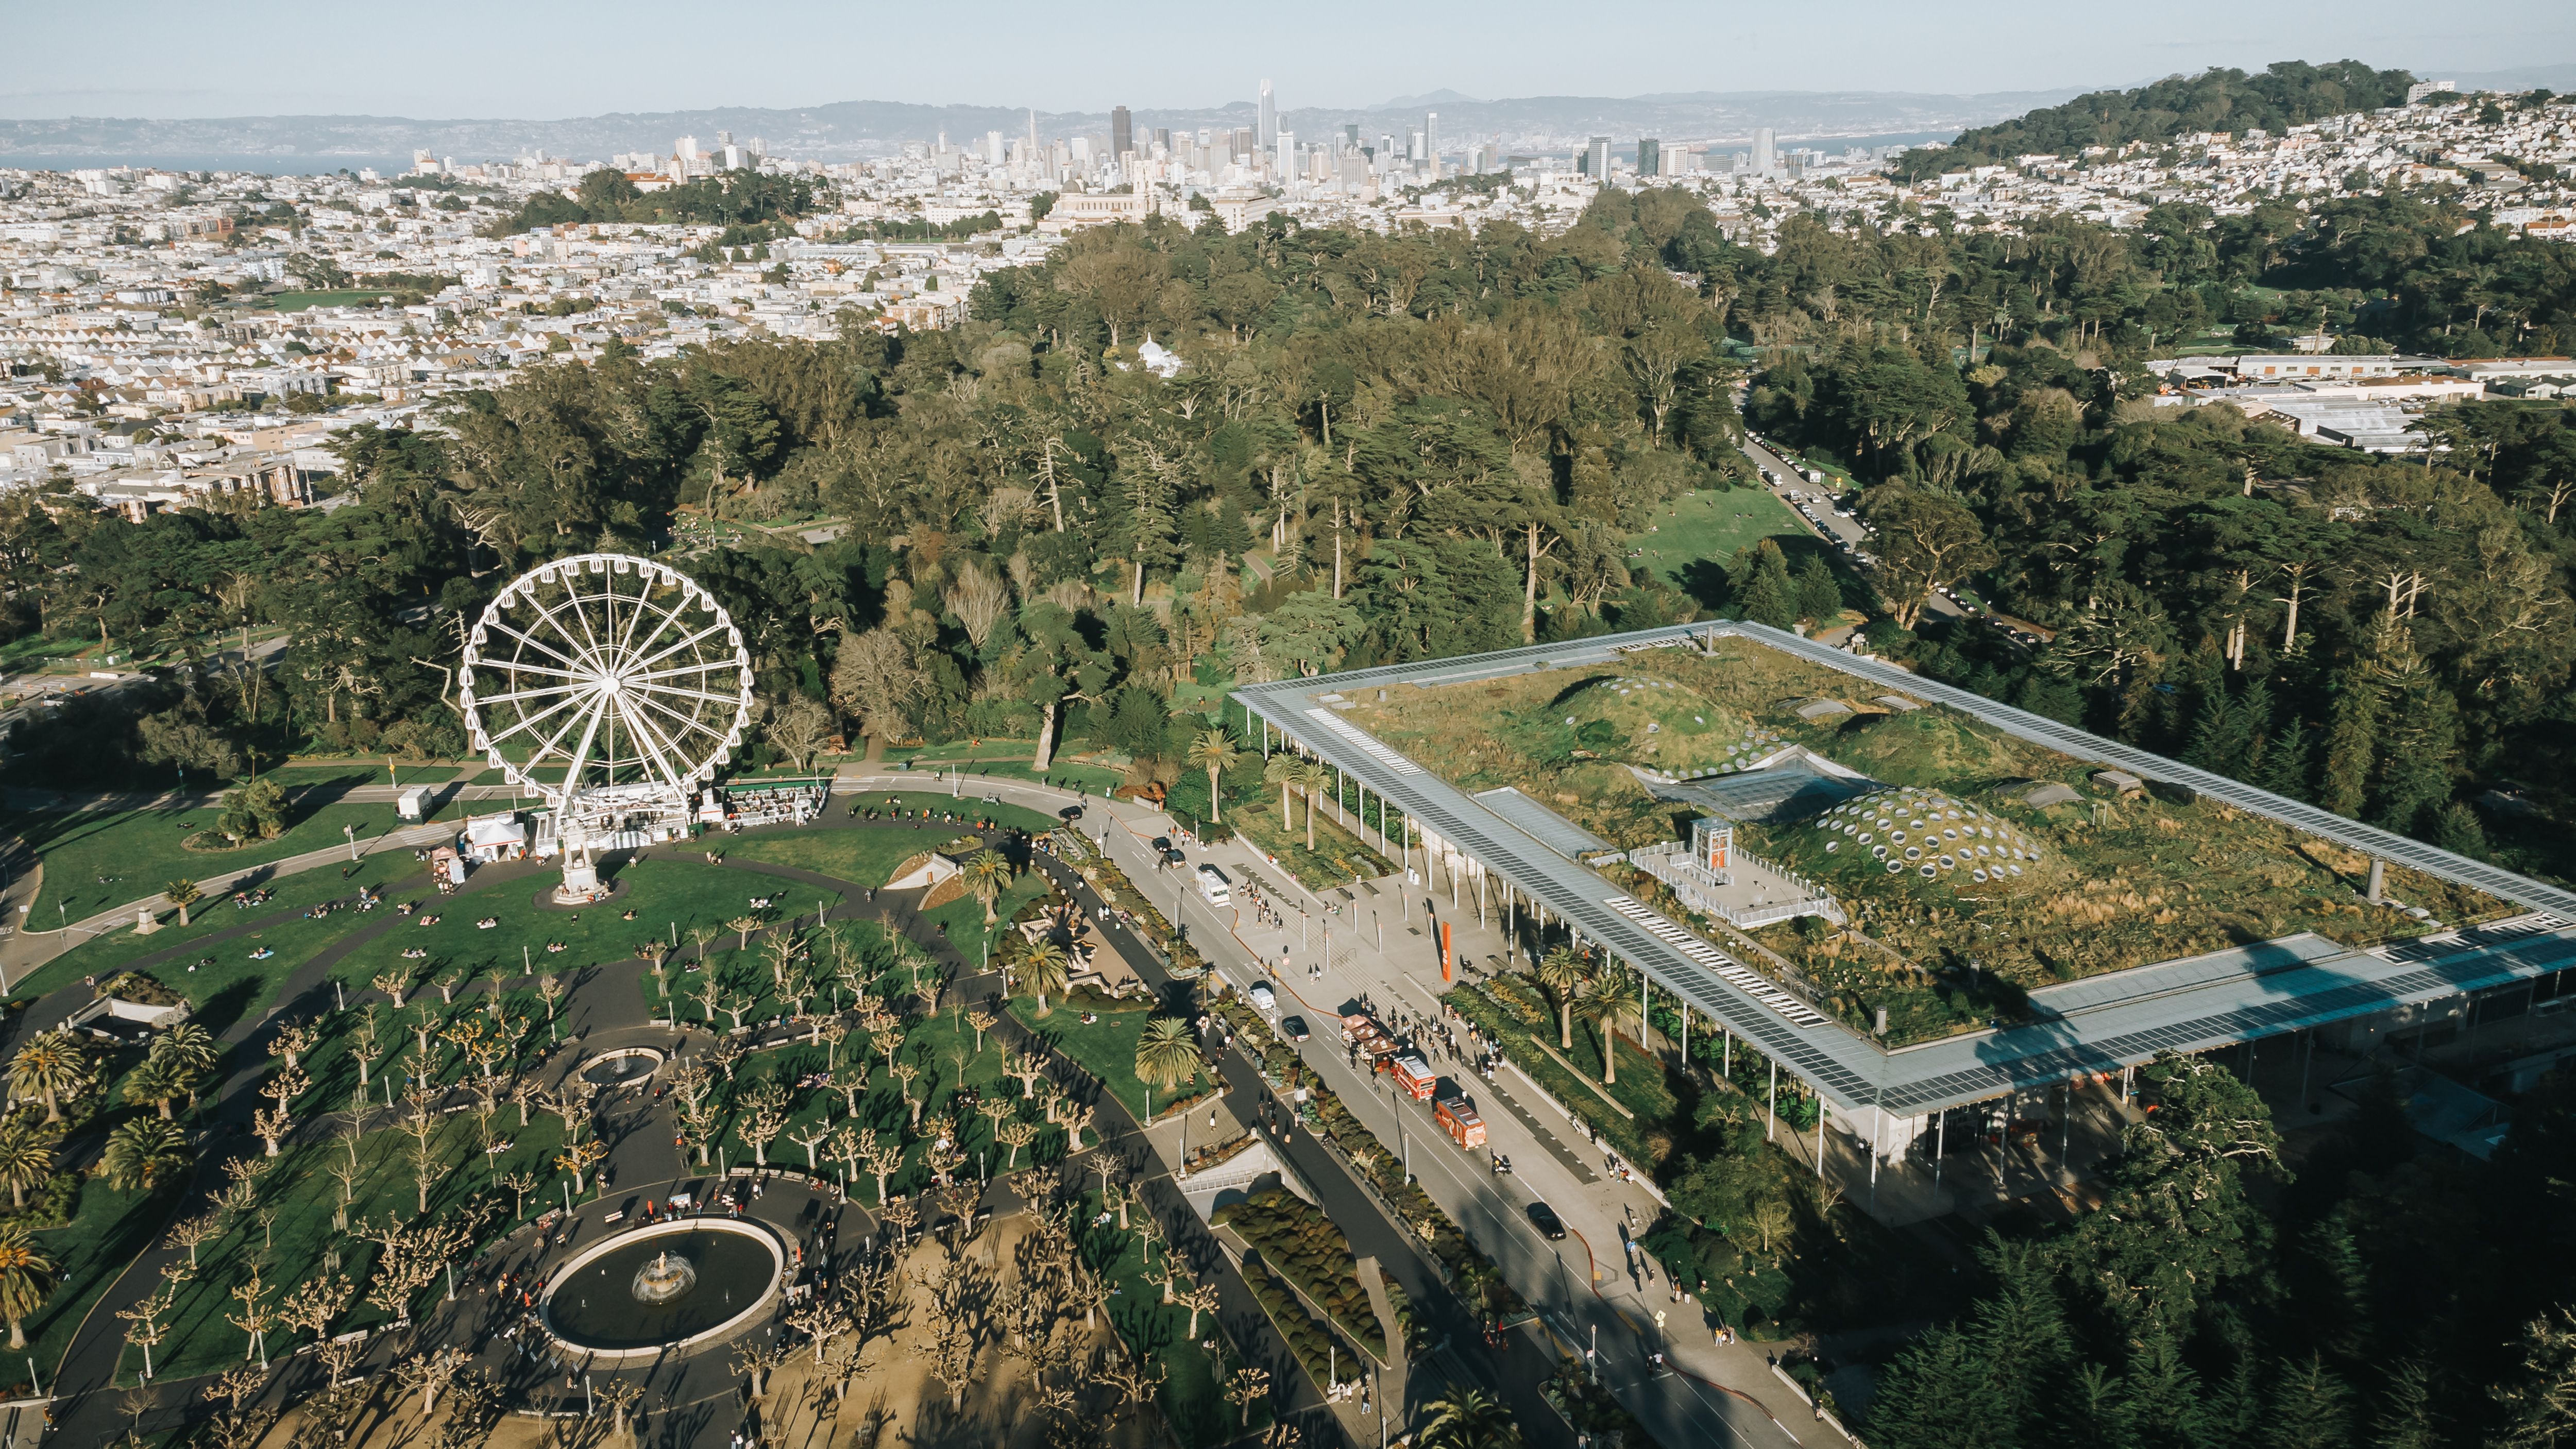
My recommendation: make two compositions at each stop, not one. Take a landscape-oriented image with room around the landmark, then turn the phone or camera vertically and make a closer frame. You will have a postcard-style scene and a social-ready option without asking one crop to do both jobs.
Let the Japanese Tea Garden’s pagoda breathe
A red pagoda against green foliage is an easy subject to spot and an easy one to flatten into a snapshot. Step back until the surrounding branches, path or water become part of the story. Keep the structure slightly off-center when the setting offers a natural frame, and check the edges for stray branches or visitors that pull attention away.
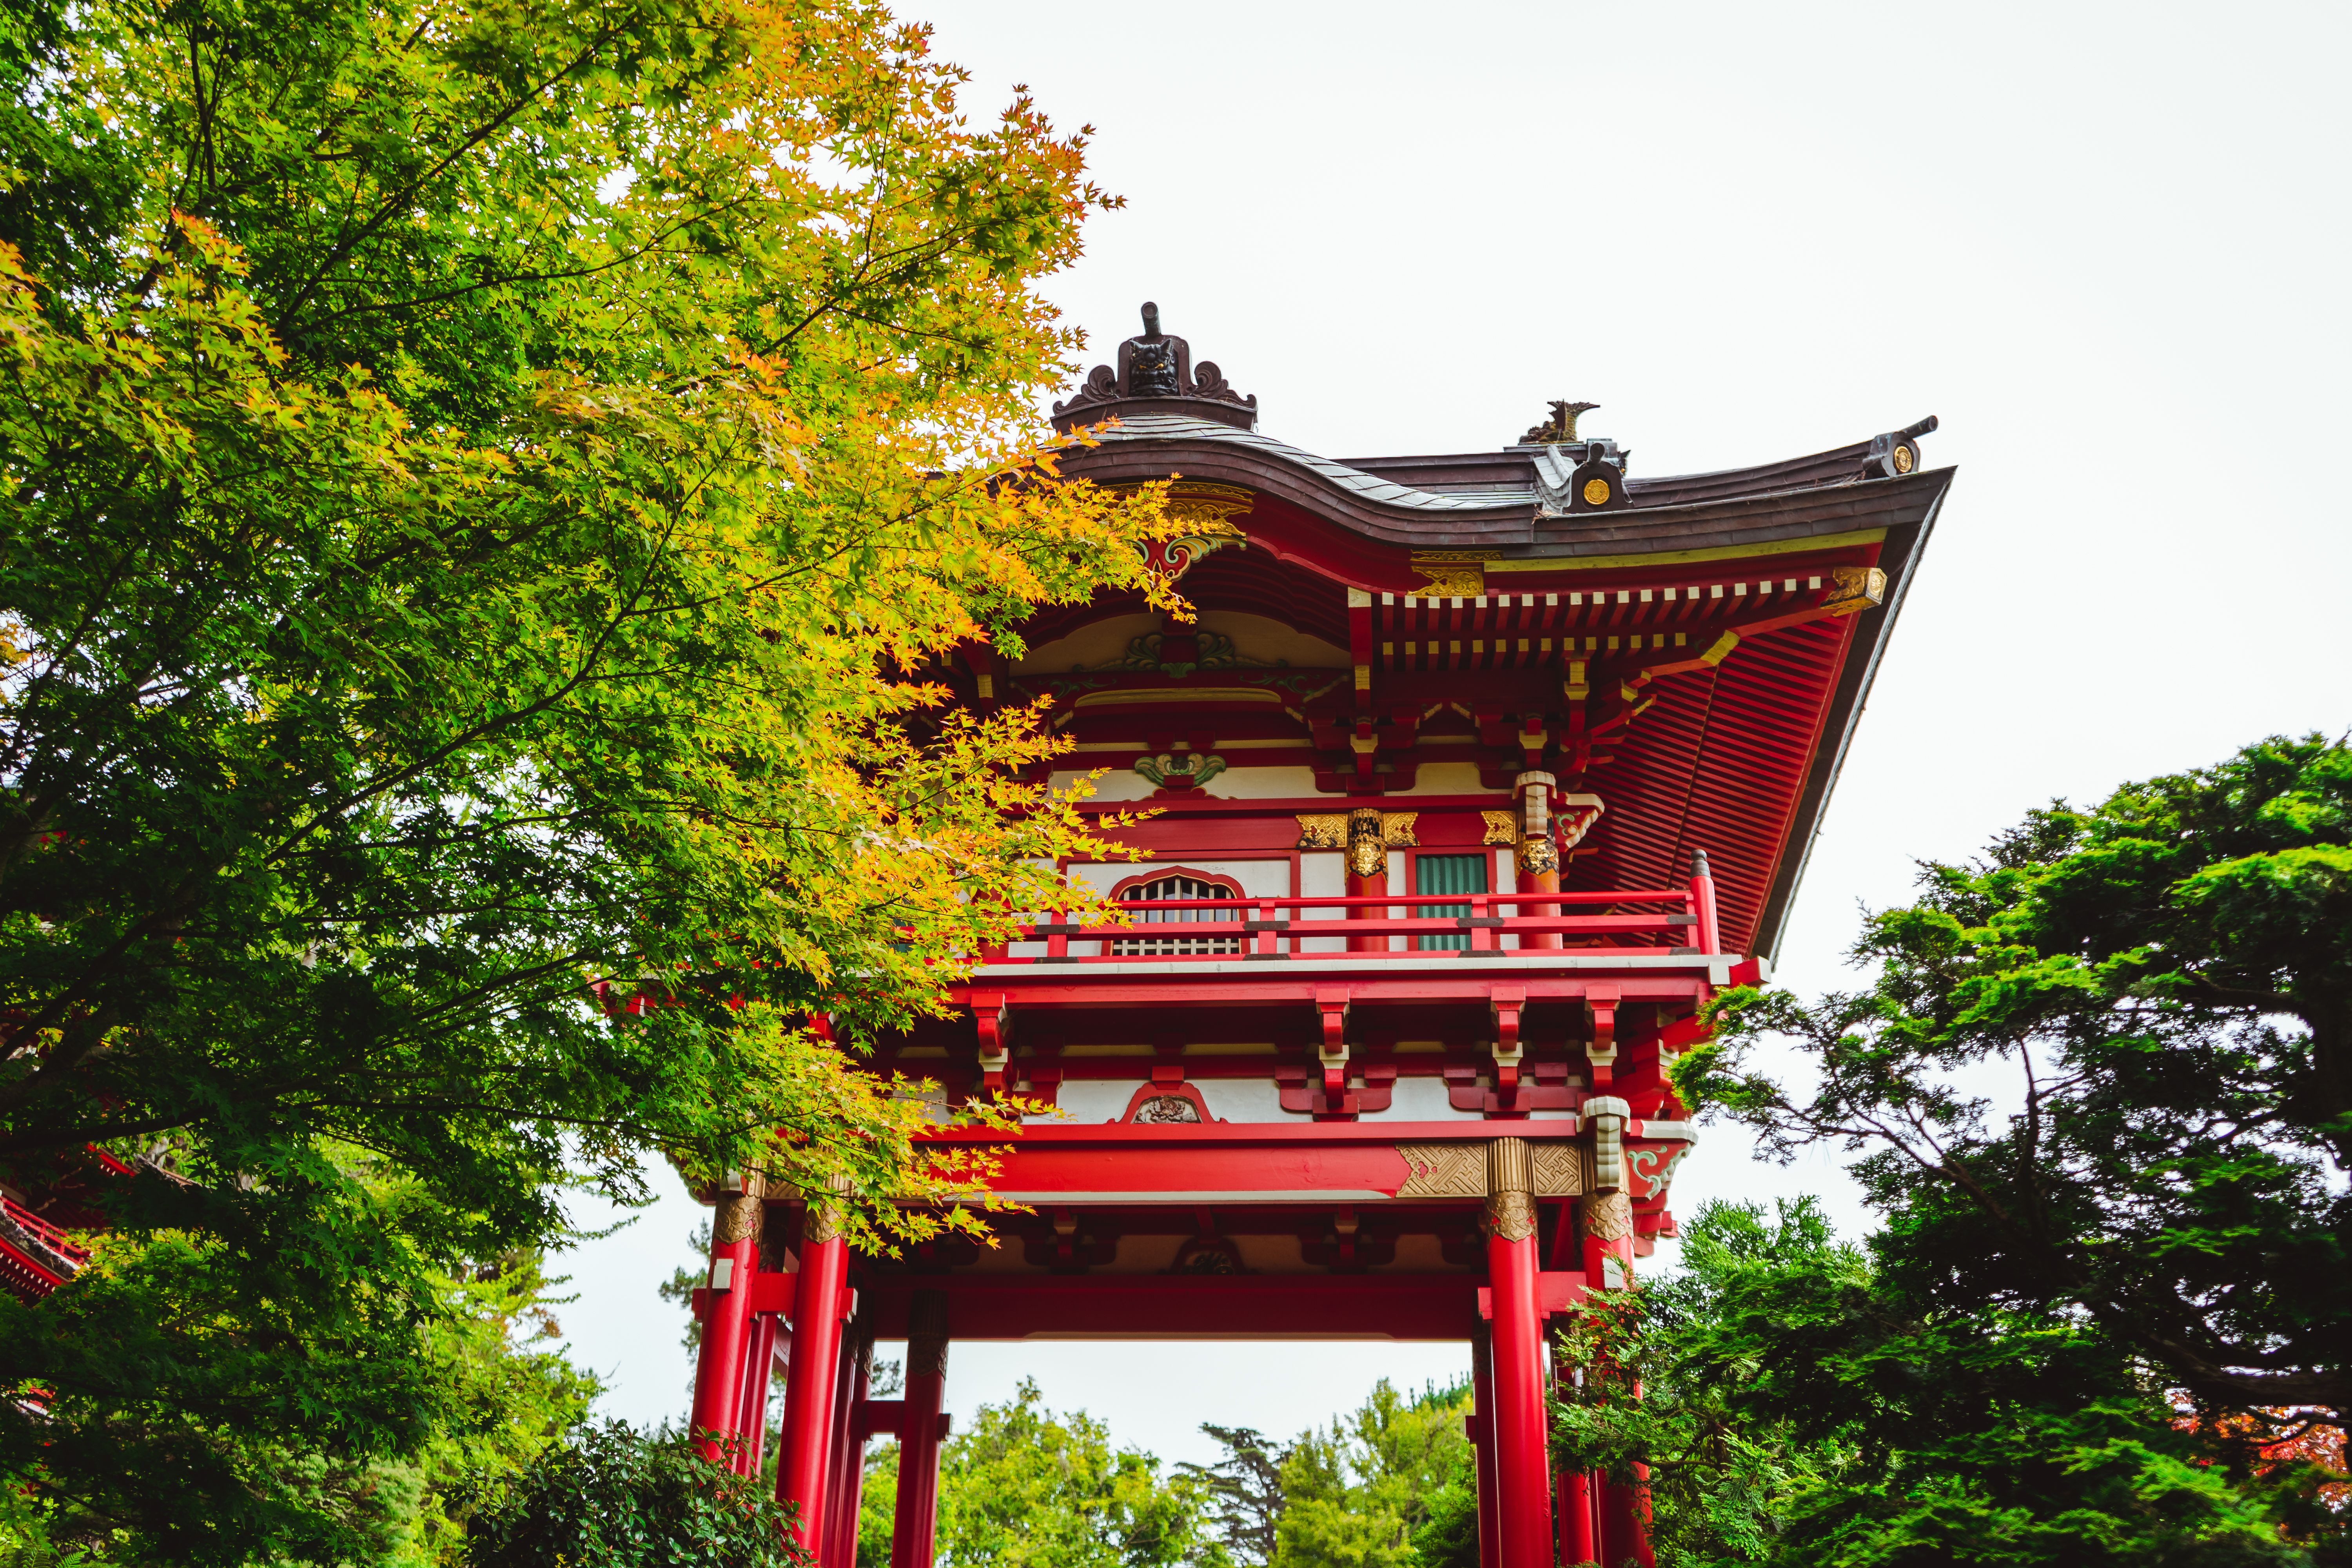
Then make a second, tighter image that prioritizes the roofline and color. The official garden history notes that the pagoda was originally built for the 1915 Panama-Pacific International Exposition, a detail that gives the landmark a story beyond its silhouette. Check the garden’s pagoda history and current visit information before you go; entry details and access can change.
Use the stone bridge as a line through the frame
At the lake, the bridge can do more than sit in the middle of the picture. Let its curve lead the eye from a foreground edge toward the far bank. If the water is still, include enough of it to catch a reflection; if it is busy or rippled, crop tighter and make the stonework the main texture.
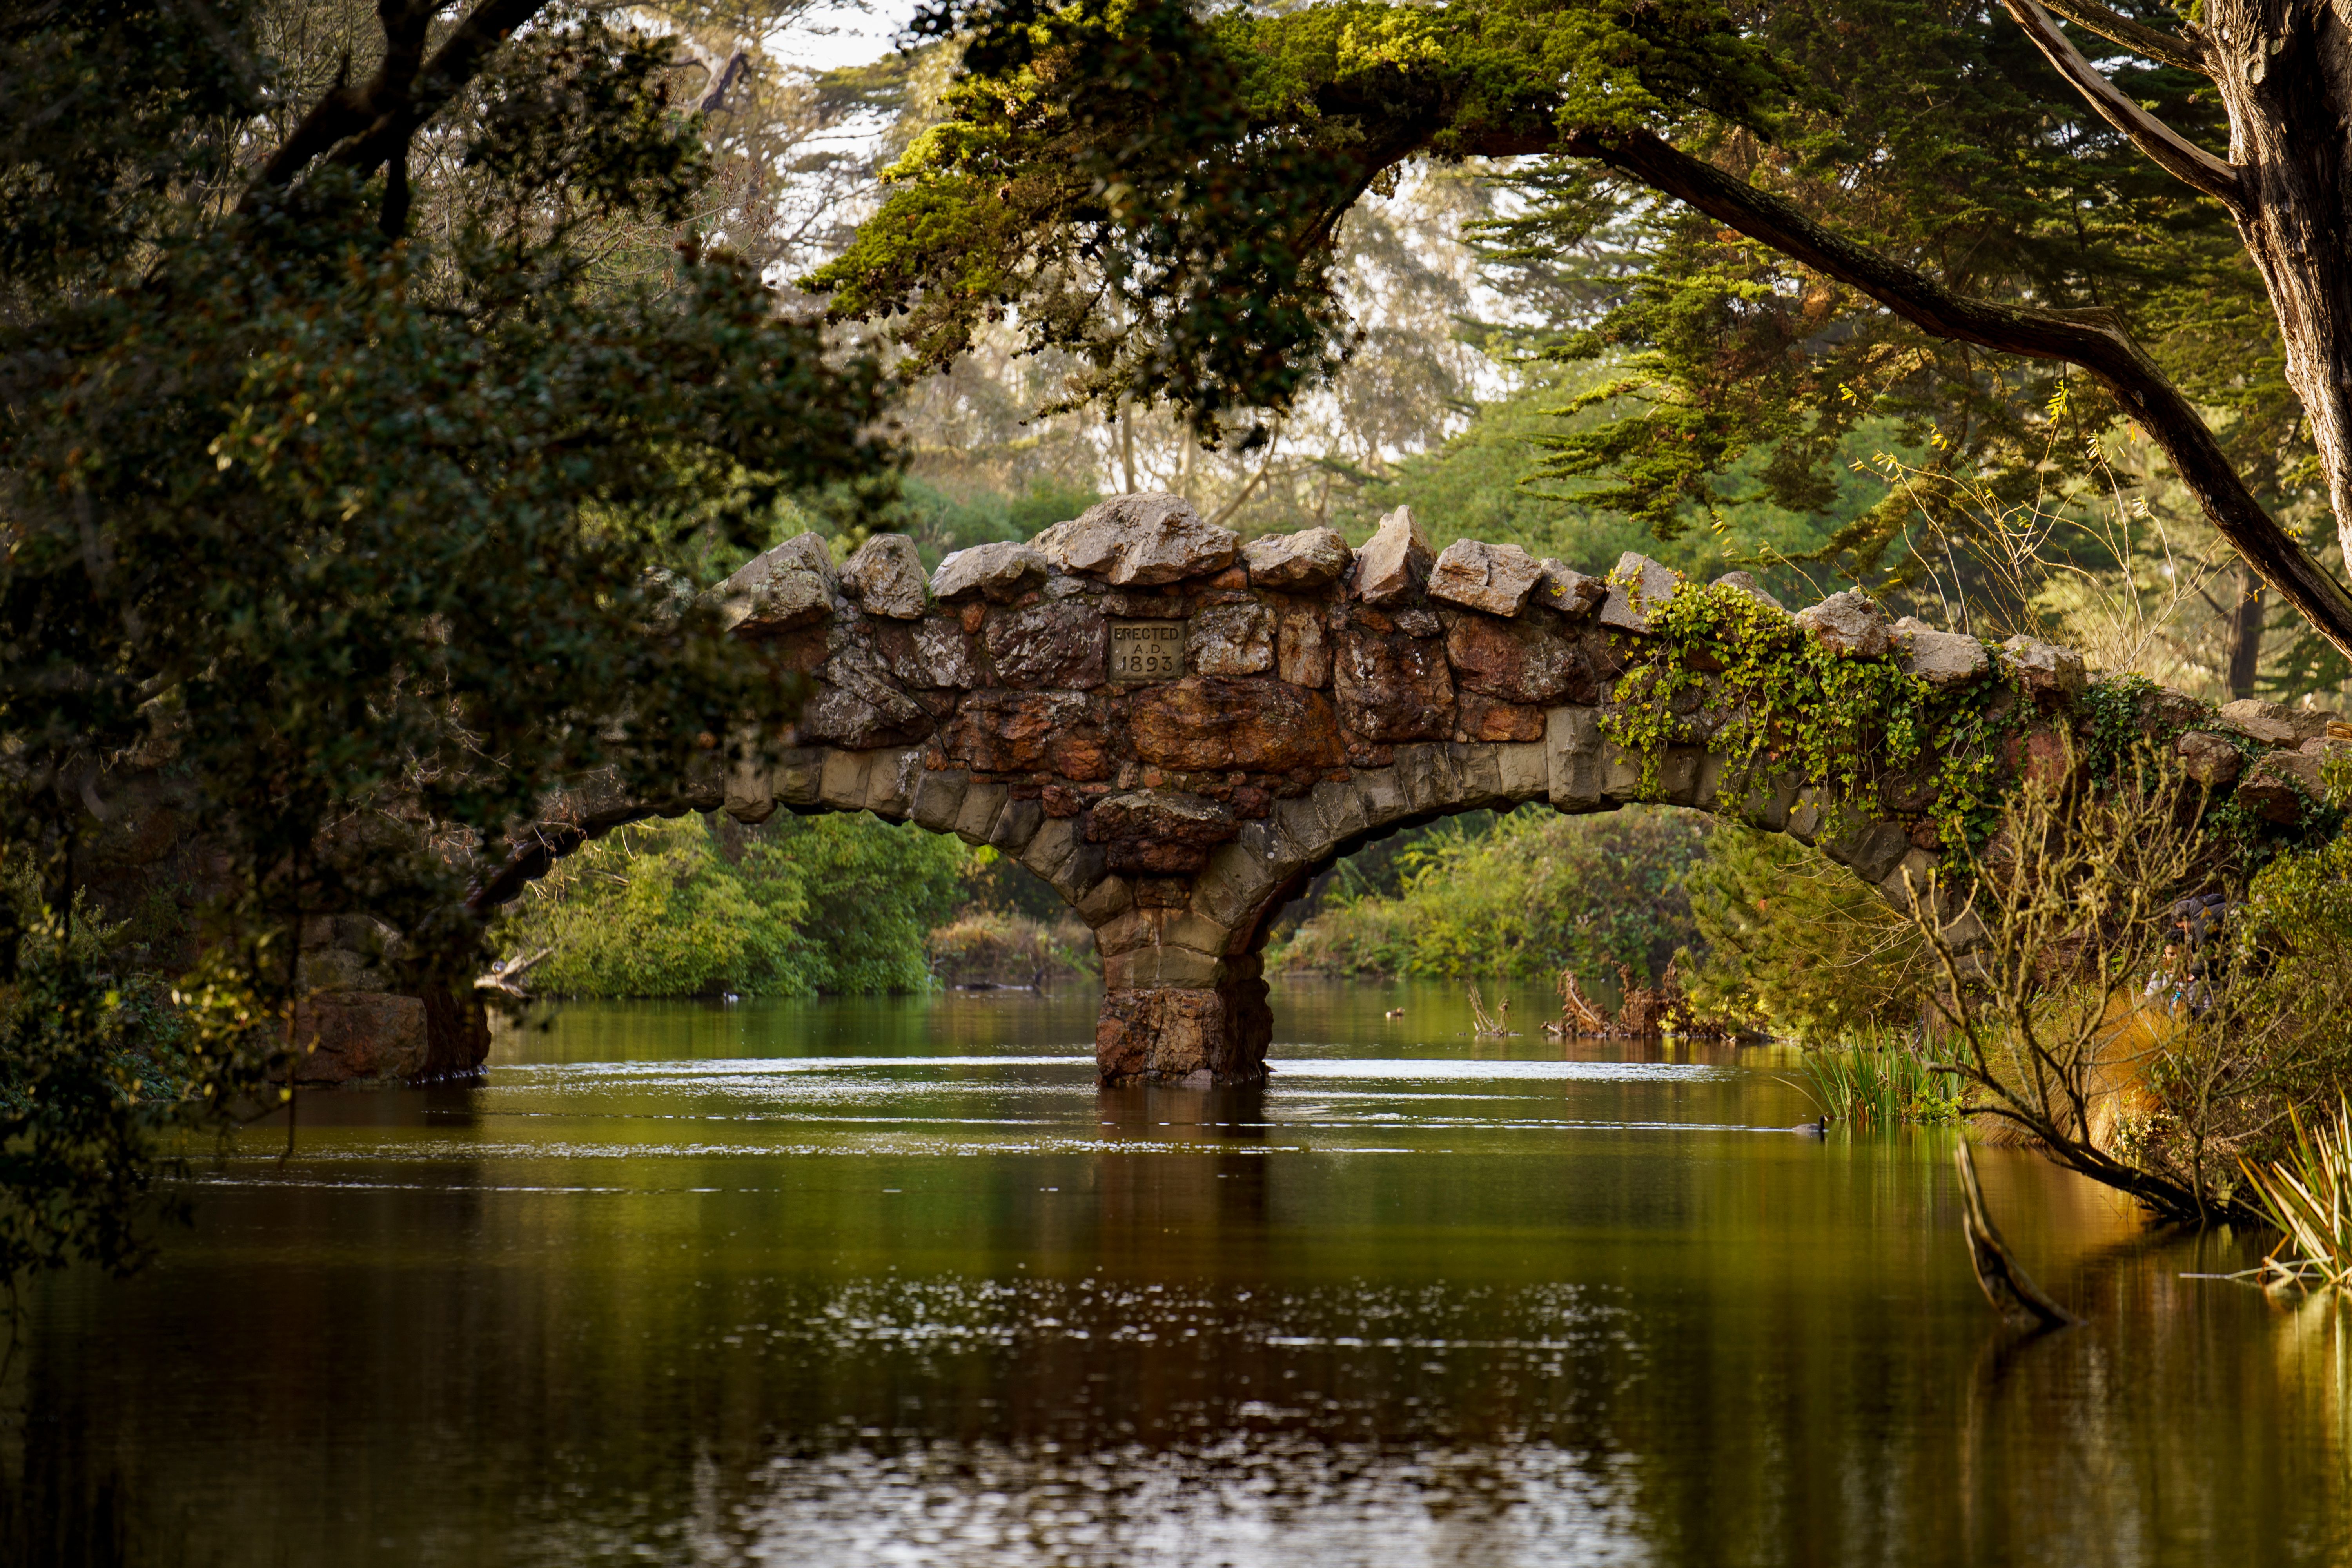
The bridge is at Blue Heron Lake, formerly known as Stow Lake. San Francisco Recreation and Parks describes the lake’s stone bridge as a 1893 feature and the lake as a 12-acre loop around Strawberry Hill. That history helps explain why a simple bridge-and-water frame feels more like a place than a generic park photo. See the department’s Blue Heron Lake guide for the current park information.
Make the fountain and Sutro Tower share the frame
When a fountain sits in front of a distant landmark, use the near-and-far relationship deliberately. Keep enough of the fountain in the lower portion of the composition to establish depth, while leaving clear space around the tower so it does not merge into trees or other shapes. On a phone, tap near the important subject and adjust exposure if the bright water is washing out the darker skyline.
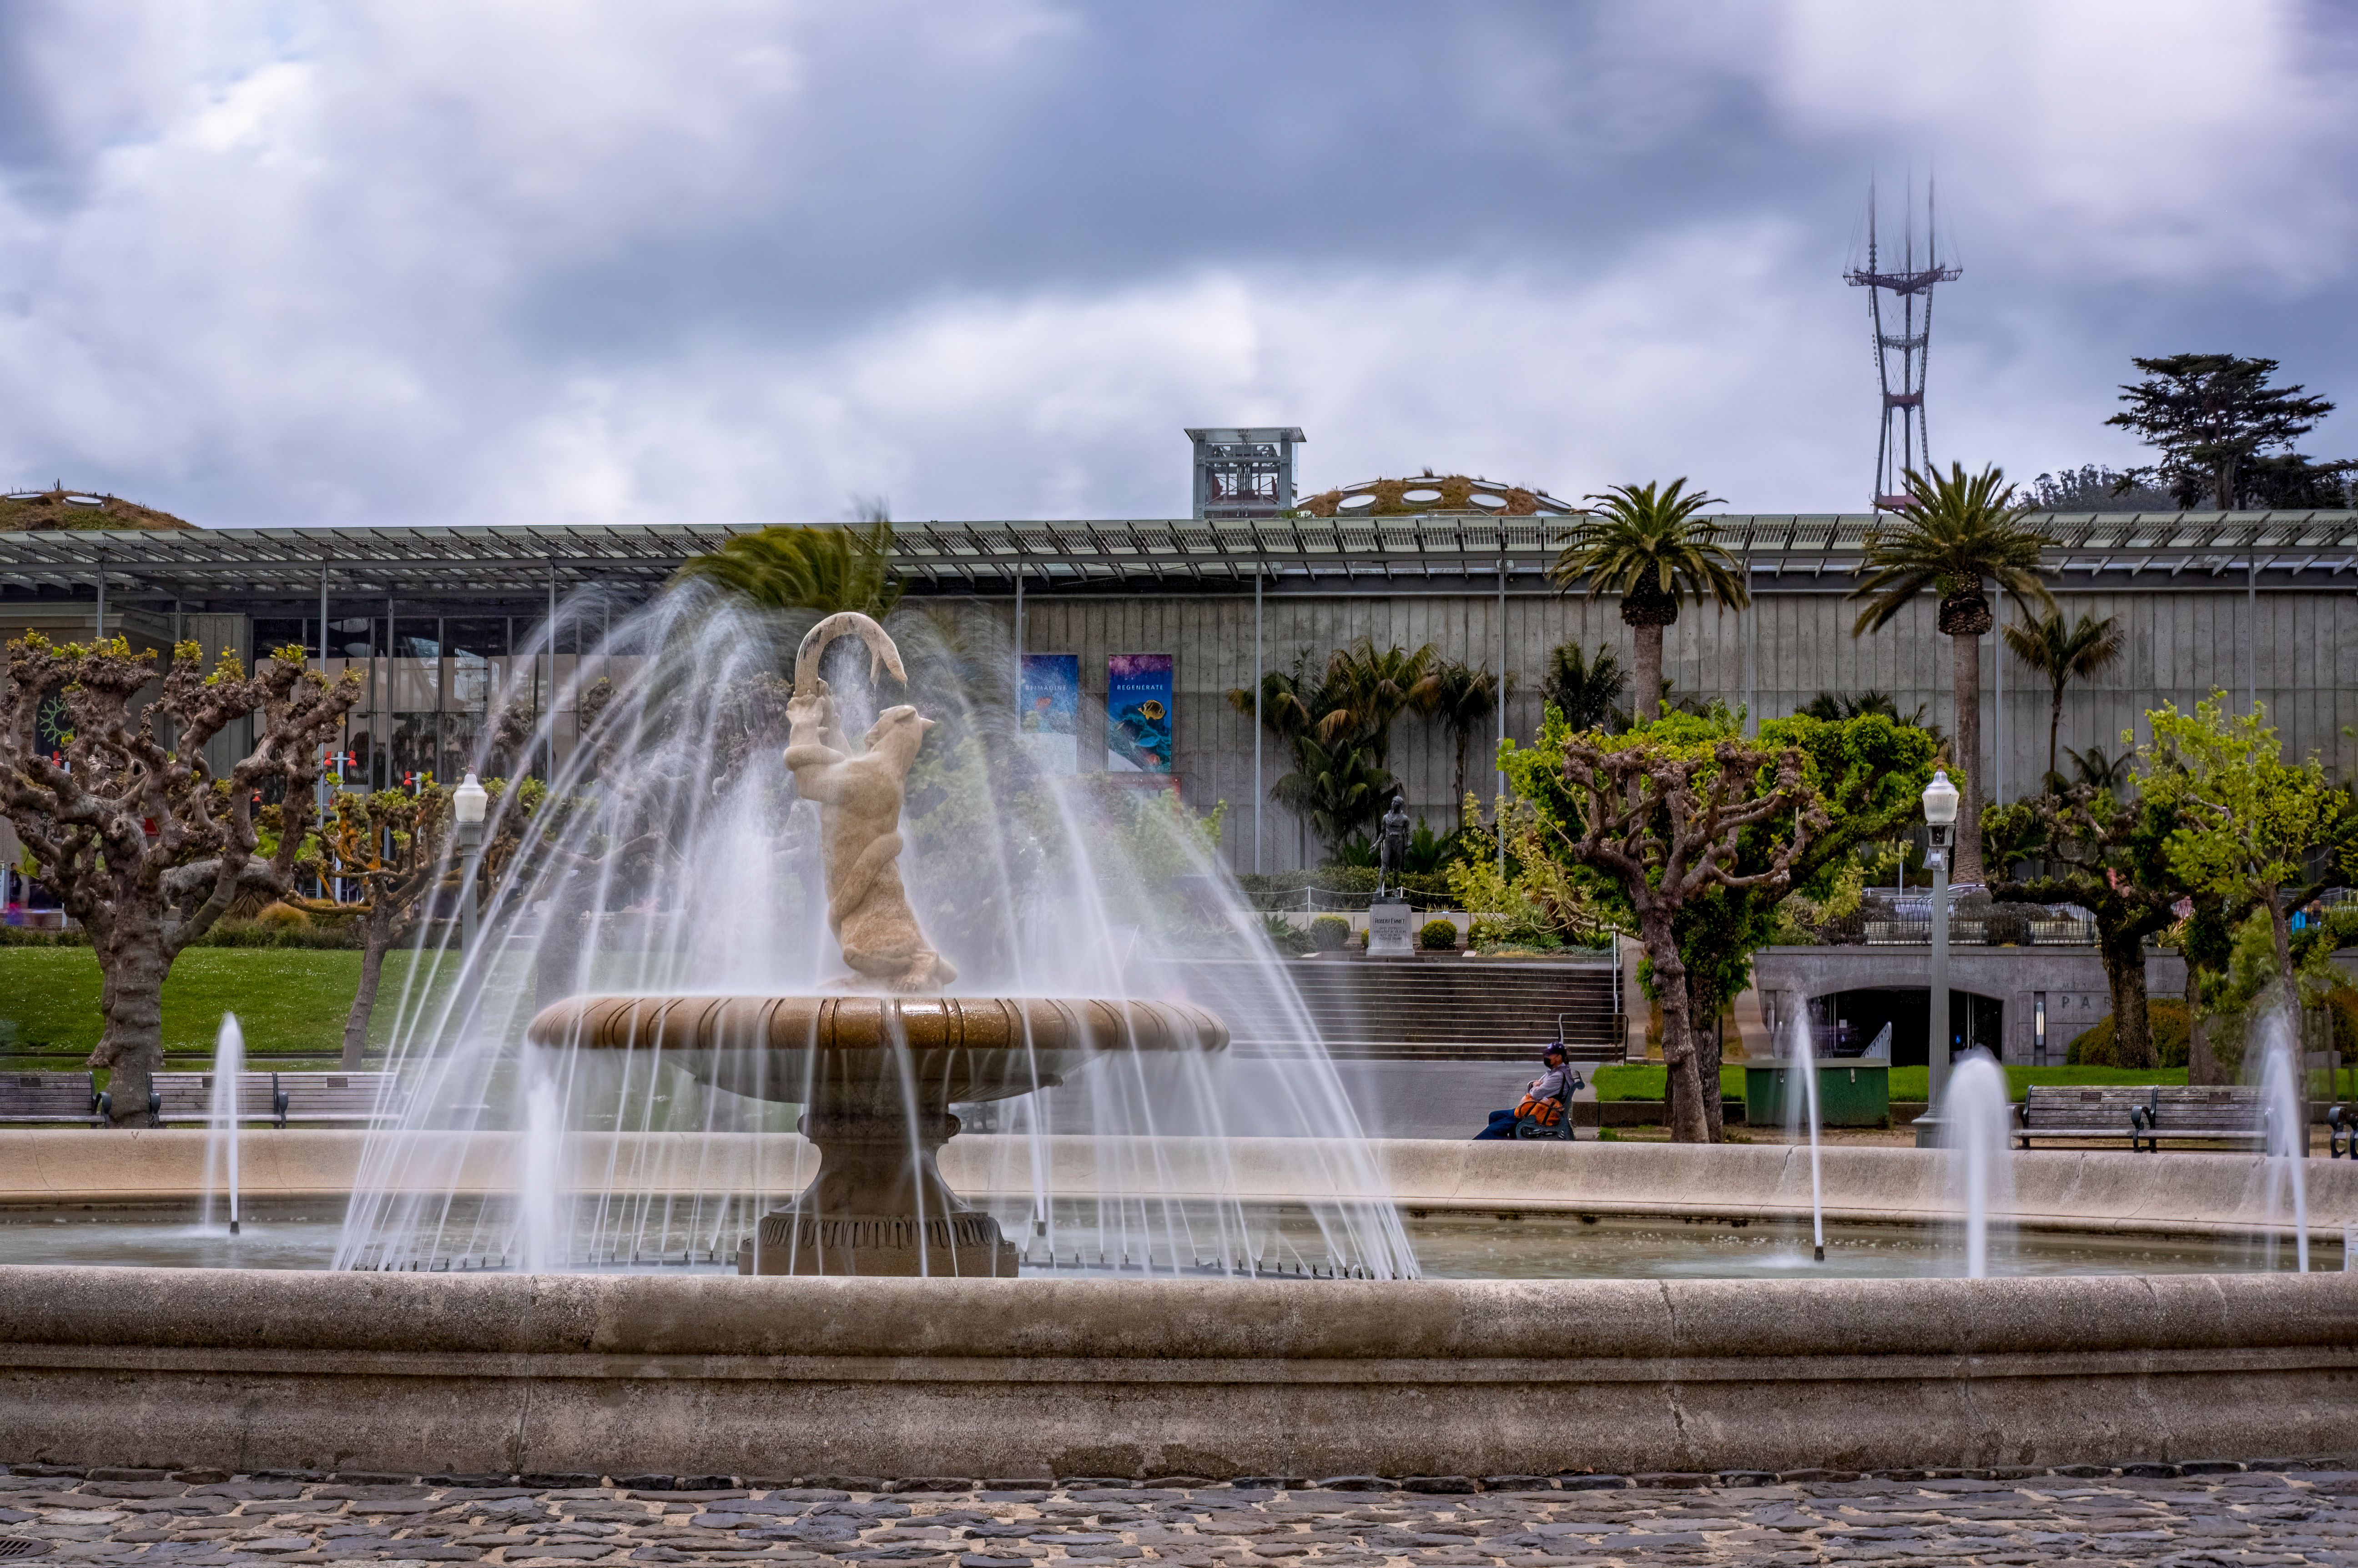
Try one frame that includes the full fountain and its surroundings, then a vertical version that stacks fountain, trees and tower. If the tower becomes too small to read, move closer to the fountain only if the composition still leaves the skyline visible. A landmark photo should not require a caption to explain what the viewer is meant to notice.
Plan for both the postcard and the feed
For a postcard, favor a horizontal frame with breathing room around the subject. That space keeps the scene from feeling cramped when printed or trimmed. For social media, make a separate vertical composition rather than relying on an aggressive crop: look for a strong foreground detail, then arrange the landmark higher or lower in the frame to leave visual space around it.
- Keep the context shot. Include paths, water or canopy so the image reads as Golden Gate Park rather than an isolated building.
- Take a detail shot. Roof tiles, stone texture, a reflection or a carefully placed branch can give a carousel or postcard set variety.
- Watch the edges. A few seconds checking the frame can catch a cut-off tower, bright litter bin or distracting sign before you press the shutter.
- Make edits serve the place. Straighten verticals and adjust highlights gently. If you make a portrait or graphic, a remove background tool can separate a subject for a design, but avoid presenting a cutout as an untouched park photograph.
Be a considerate photographer
The gardens are public spaces, not private sets. Keep equipment with you, do not move plants or garden objects, and step aside rather than holding a path or view while waiting for a clear frame. The Gardens of Golden Gate Park’s photography FAQ and visitor rules explain the limits on equipment and larger or commercial shoots. If a photographer or crew is paid, or images will be used commercially, check the permit requirements before planning the shoot.
The most useful Golden Gate Park photo set is not four versions of the same landmark. It is a small sequence: one image to orient the viewer, one to show the landmark in its setting, and one close detail worth lingering over. Make the wider frame first, turn for the vertical, and leave the park looking as undisturbed as it did when you arrived.